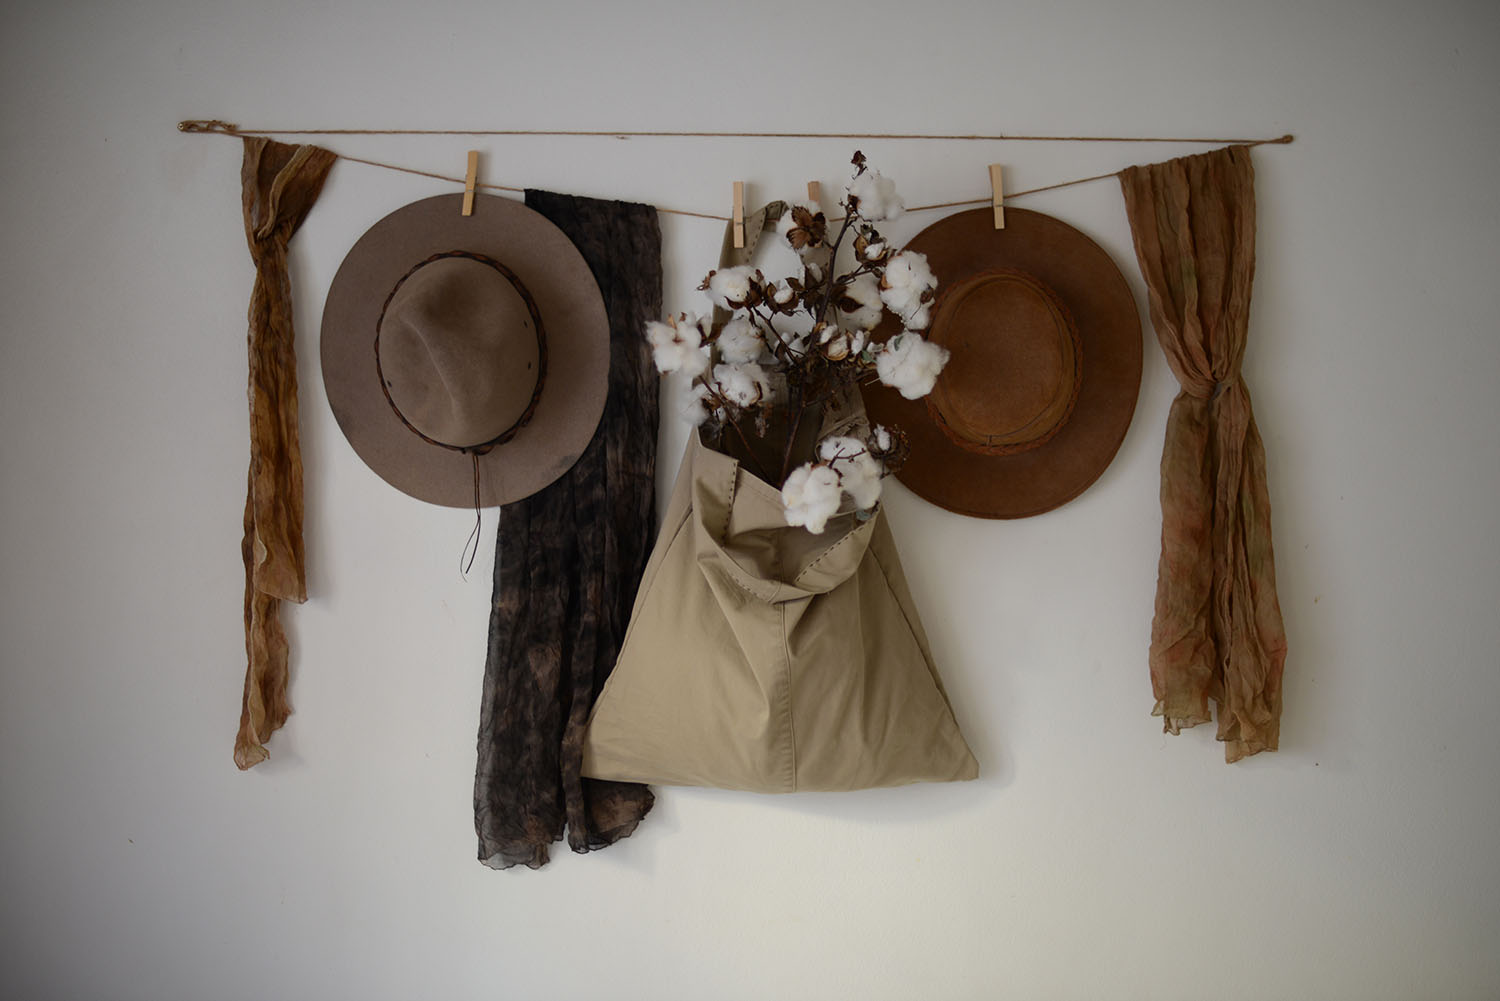
Easy DIY tote bag with Liya Mirzaeva

I'm excited to welcome a guest contributor to Shift, self-taught natural dyer, dressmaker and pattern maker Liya Mirzaeva.
Based in Sydney, Liya is a textile artist and DIY advocate, here to help us get creative aaaand ditch plastic bags for good.
Liya has come up with a simple DIY to turn an old pair of pants into a functional, stylish tote bag - all in under an hour!
 Over to you, Liya!
Plastic bags should have been banned long
ago, but sadly they are still used by people all over the world. Not everyone
wants to spend money on a reusable bag so why not make one yourself? It’s easy
and fun.
This could be a good little project to do with kids - a whole family
could join in and just under an hour you will have bags to take with you on
your next shopping trip.
What you will need:
- Fabric (old clothes)
- Scissors
- Needle
- Thread
- A bit of imagination

Now examine your garment and decide on the best shape and size you can get out of it. You will need two equal sides for just the bag and some extra fabric for the handles.
Just remember that the finished bag will be a few centimetres smaller as it will be hemmed.

You can use a ruler if you don’t trust your eye. And then just cut out your shape.

If you can’t get it the first time just practice for a few minutes and you’ll see how easy it is.

Now put the two sides together with the “wrong” side of the fabric facing up. Start from the top and work your way all around the bag, just using a straight stitch.

If you run out of thread, you will need to make another knot on your bag, so it doesn’t come apart later. So instead of making another stitch, use that loop and thread your needle through it and just pull.

We’re almost done! Now you need to attach the handles to the bag. Just choose where you want them to go and you know what to do.


Now put the two sides together with the “wrong” side of the fabric facing up. Start from the top and work your way all around the bag, just using a straight stitch.
Leave about a centimetre from the edge.

Repeat a few times if needed. Follow the previous steps to finish off the rest of the bag.

Now we’re ready for the handles. Cut out 2 equal rectangular shapes - you decide how long you want to make them.

Fold both edges in and as before use a straight stitch to work your way along the sides.

You can make a few rows of stitches or a square shape. The handles need to be attached well as they will be pulling all the weight later on. Just make sure they’re still the same length. I recommend folding the ends of the handles in so don’t see them later.

Now the final and the most exciting part is
to flip your bag right side out and it’s ready to use!
We’ve just reduced landfill in two ways - by saving an old garment and no longer needing plastic bags!


Comments
Post a Comment